If you hatch birds regularly, you know that the brooder setup can make your life either really easy… or really annoying. For years I used a simple DIY brooder made from a Rubbermaid tote. It worked, but it required constant adjusting, cleaning, and checking.
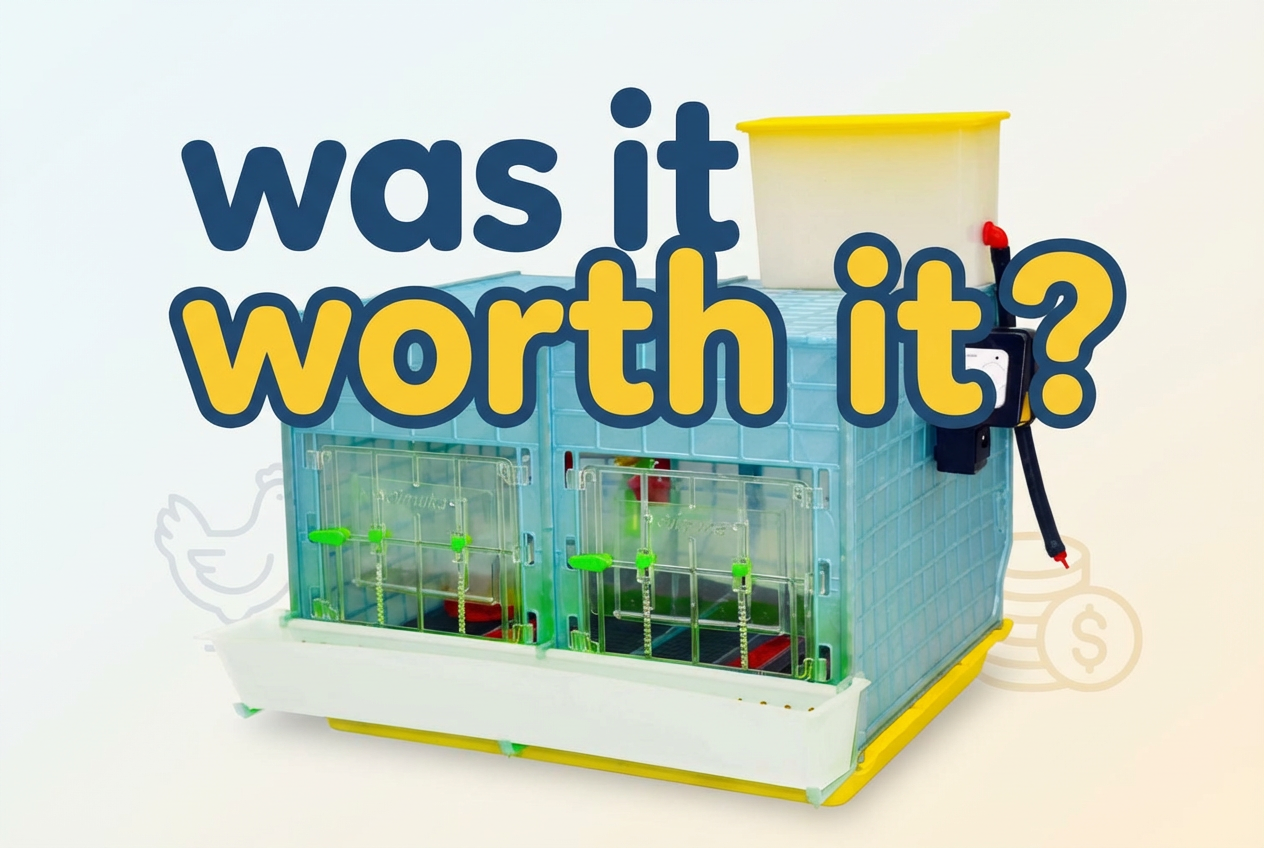
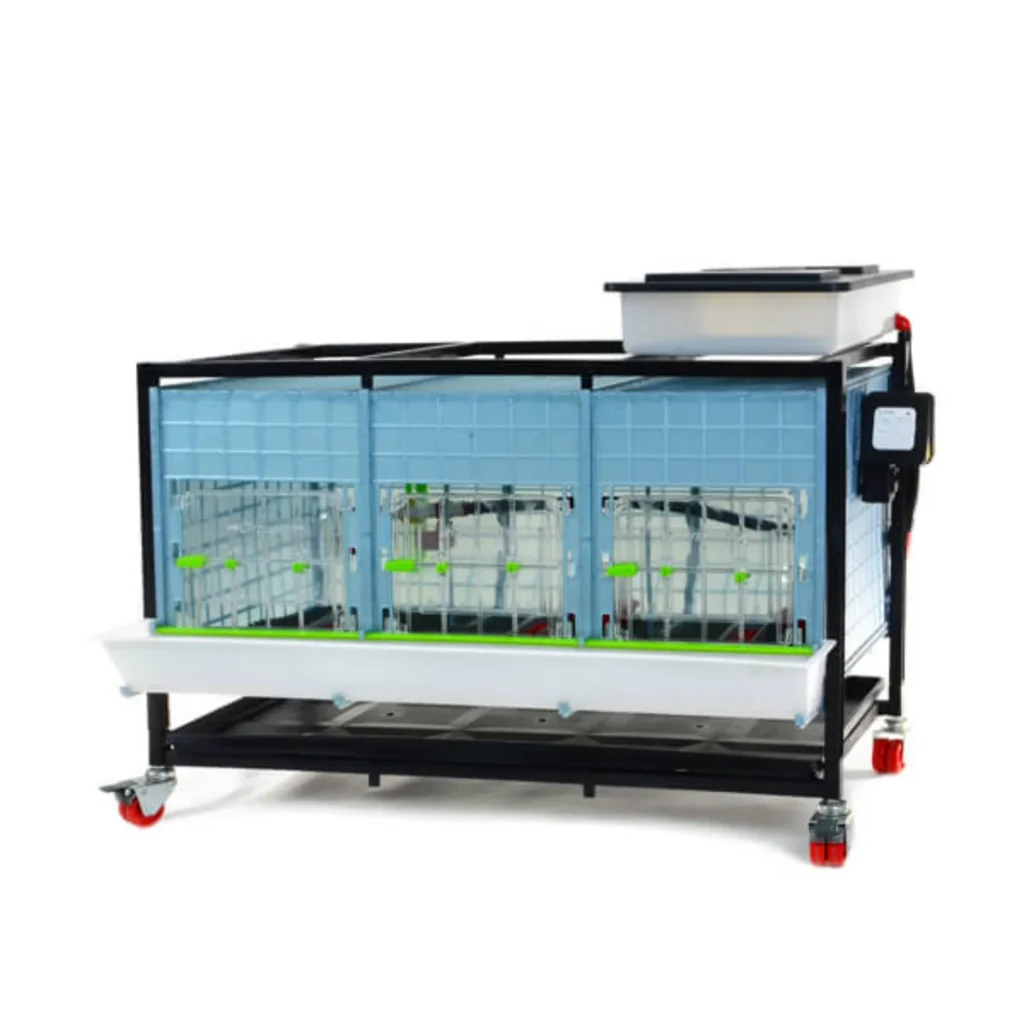
Recently I decided to upgrade to the Hatching Time Chick Brooder (2‑Section H:15) — and honestly, I wish I had done it sooner.
In this post, I’ll share why I chose this brooder, how it works day‑to‑day, and whether it’s actually worth the price.
*This post contains affiliate links, which I may receive a small commission from purchases. This helps support my blog.
Why I Chose This Brooder

The timing of this purchase was very specific.
I’m about to go out of town for a week for a Horse Retreat, which means my kids and their dad will be running the farm while I’m gone. Normally I handle most (if not all) of the daily farm work, but this time the kids are stepping up.
My kids are 7 and 8, and they’ll be responsible for taking care of the quail chicks I just hatched.
My previous brooder setup was a homemade Rubbermaid tote brooder. It worked fine, but it required a lot more hands‑on management. Since the kids will be helping with chores, I wanted something that would make their job easier and more foolproof.
Another reason I chose this specific model is that I hatch multiple species of birds. Instead of buying a brooder that only works for quail, I went with the 15‑inch version. It’s bigger than the quail‑specific model, but it gives me flexibility to brood other birds in the future without needing multiple brooders.
Assembly: Surprisingly Easy
One thing I noticed immediately is how simple it was to put together.
Everything basically clicks into place. There’s no complicated setup, tools, or confusing instructions. You just snap the components together and you’re ready to go.
Compared to DIY brooders (which often involve heat lamps, clamps, and a lot of trial and error), this setup was refreshingly simple.
Day‑to‑Day Use
So far, day‑to‑day use has been incredibly easy.
The chicks are currently in their first week, so they just recently outgrew the small watering system that comes with the brooder.
Today I switched to using the included water tank to start transitioning them to the larger watering system. They’re still a little small and haven’t quite figured it out yet, but one thing I immediately noticed is that it doesn’t leak — which is a huge plus when you’re brooding tiny birds.
Overall, daily care is simple:
- Refill water
- Check food
- Slide out the tray if needed
- Make sure the temperature is right
That’s it.
Even better, my kids have already taken over caring for the chicks — which was exactly my goal when I bought this brooder.
Pros
So far I’ve found a lot to love about this brooder.
Extremely Easy to Use
Everything about this setup is designed to make brooding simple. Once it’s set up, daily maintenance is minimal.
Excellent Temperature Control
The heat is easy to control and stays consistent. I haven’t had to constantly adjust things like I did with heat lamps.
Built‑In Light
There’s a light built into the brooder, which makes it easy to see what’s going on without opening it up.
I love being able to look in and check on the chicks without disturbing them.
Everything Is Included
Aside from a light bulb, everything you need is included in the system. That makes setup fast and straightforward.
Space Efficient
The brooder doesn’t take up much space, which is nice if you’re running a small farm or homestead and trying to keep things organized.
Zero Chick Loss
So far, I’ve had zero chick loss using this system, which is always the goal when raising new hatchlings.
Cons
There is one downside I’ve noticed — and it’s worth mentioning if you plan to use this brooder long-term.
Droppings Tray Isn’t Convenient to Clean
The poop tray is not as easy to clean as I’d like.
In order to empty it, you actually need to:
- Remove the chicks
- Lift the brooder off the tray
- Then dump it out
So it’s not something you can quickly slide out and clean while everything is still set up.
If you’re using this brooder occasionally, it’s not a big deal.
But if you plan to brood frequently, or brood for longer periods of time (more time=more poop to clean!), I would actually recommend going with the 1-layer version instead, because the trays pull out easily, which makes cleaning a lot faster and more convenient.
That said, this isn’t a dealbreaker for me — just something to be aware of.
This brooder is definitely more expensive than using a DIY tote setup.
But in my opinion, the convenience and ease of use make it completely worth the upgrade.
Who This Brooder Is Best For
This brooder is a great fit for:
- Homesteaders
- Backyard poultry keepers
- Anyone hatching birds regularly
- People who want a more organized brooding system
If you hatch birds often and want something that simplifies the entire process, this is a great option.
Is It Worth the Price?
In my opinion — yes, absolutely.
That said, if you’re just starting out and you’re not sure whether you’ll continue hatching birds, a free Rubbermaid tote brooder can still work perfectly fine.
But if you know this is something you plan to keep doing, investing in a brooder like this can make your life significantly easier.
There are also larger models available if you’re hatching more birds than the recommended capacity for this one.
Final Thoughts
What I love most about this brooder is how simple and stress‑free it makes the brooding process.
I can easily check on the chicks without opening the unit, temperature control is straightforward, and daily chores take just a few minutes.
Even better, my kids have already taken over caring for the chicks — which tells me this setup is doing exactly what I hoped it would do.
Overall, this is an excellent brooder system, and I definitely recommend it to anyone looking to upgrade their setup.

Post your Comment About This Product