
Raising quail is one of the most rewarding things you can do on a homestead. They’re compact, productive, and can provide meat, eggs, or even income. But if you’re just starting out, there’s a learning curve—and trust me, I’ve been through it.
Whether your birds aren’t laying, or your setup feels more chaotic than cute, this post will help you avoid the top quail farming mistakes that beginners (my past self included!) make.
1. Inconsistent or Insufficient Lighting
Quail need about 14–16 hours of consistent light to lay regularly. Without it, they’ll either slow down or stop altogether. Graham told us about how he once pulled the lights off one of his pens, thinking the longer spring days would be enough. Wrong! Egg production plummeted.
🐣 Fix it: Use a timer and keep light levels steady year-round.
2. Switching Feed Too Abruptly
Changing feed too fast can throw your flock into chaos. Some farmers transition to a lower-calcium feed to improve hatchability, but if paired with stress or a waterer issue, it can cause a full laying strike.
🐣 Fix it: Introduce new feed gradually over a week. Always check waterers too—especially if you’re using automatic ones.
3. Ignoring Predator Risks
Even in secure barns, quail are vulnerable. Raccoons, pigs, and even rodents have been known to break into enclosures and wreak havoc.
🐣 Fix it: Hardware cloth > chicken wire. And be realistic about what can reach, dig, or destroy your setup. Predator-proof like it’s Fort Knox. (And DON’T trust pigs- they can be destructive when they want something!)
4. Overcrowding Your Pens
This is so easy to do, especially when you’ve got a successful hatch. You might want to overfill pens thinking “just for a few days.” The result? Piles of crushed chicks and unnecessary loss.
🐣 Fix it: Know your limits. A good rule of thumb is no more than 1 quail per 1 square foot. Build out grow-out pens ahead of time—not when it’s too late.
5. Assuming All Quail Will Lay Like Clockwork
Stress, temperature swings, transportation, or even new bedding can throw off egg production. It’s not uncommon for quail to lay nonstop one week and then stop the next. If you’re moving quail, or bringing them home for the first time, they are going to stop laying for a few weeks. Don’t be discouraged when this happens- it’s normal. Just make sure you get into a routine ASAP.
🐣 Fix it: Create a stable environment and stick to routines. Expect some disruption when introducing new birds or changes.

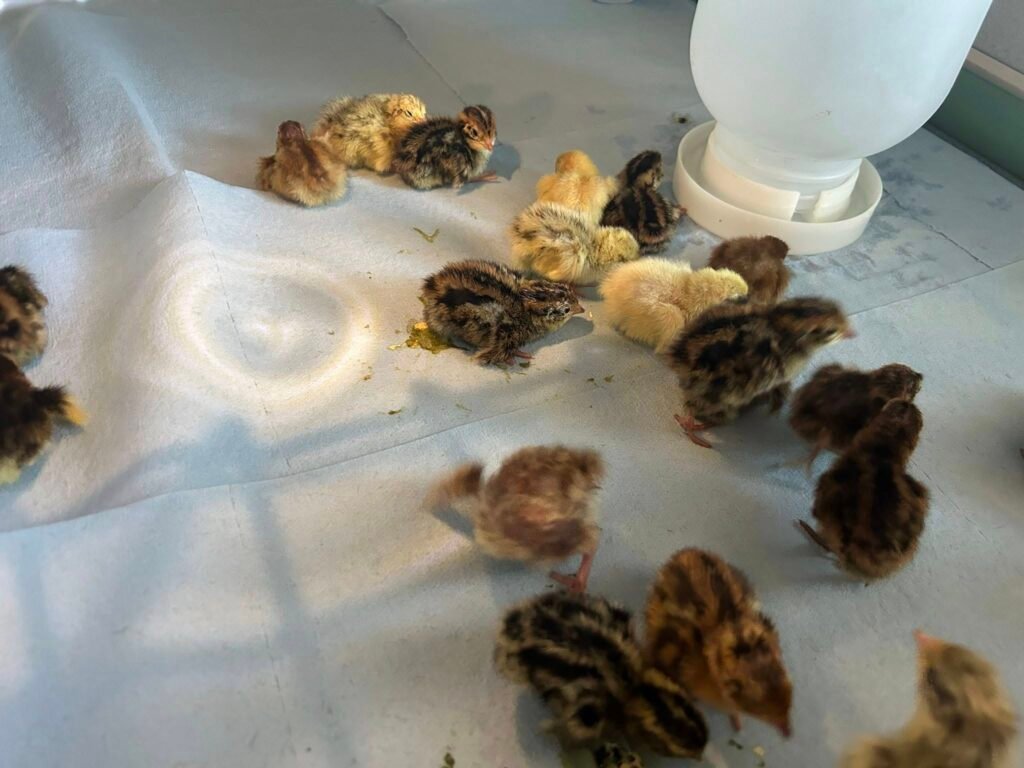
6. Using the Wrong Type of Brooder or Cage
Your birds might survive in any bin—but they won’t thrive. Be aware of setups that led to splay leg, poor ventilation, or constant cleanup.
🐣 Fix it: Use proper brooder flooring (non-slip shelf liner is perfect) and cages with good air flow. Avoid slick plastic and overcrowded tubs.
7. Waiting Too Long to Start a Rotation
Waiting too long to set up a rotation system can lead to too many birds, too few layers, and a stressed-out flock.
🐣 Fix it: Start thinking in monthly cycles right away. Hatch, brood, grow out, and cull or sell. You can even begin with a 3-month batch plan.
What to Do Next
Mistakes happen—but quail are incredibly forgiving if you adjust quickly. If you’re just starting out, take it slow, build smart, and don’t let perfection keep you from getting started.
If you’re ready to dive in, here are a few helpful resources:
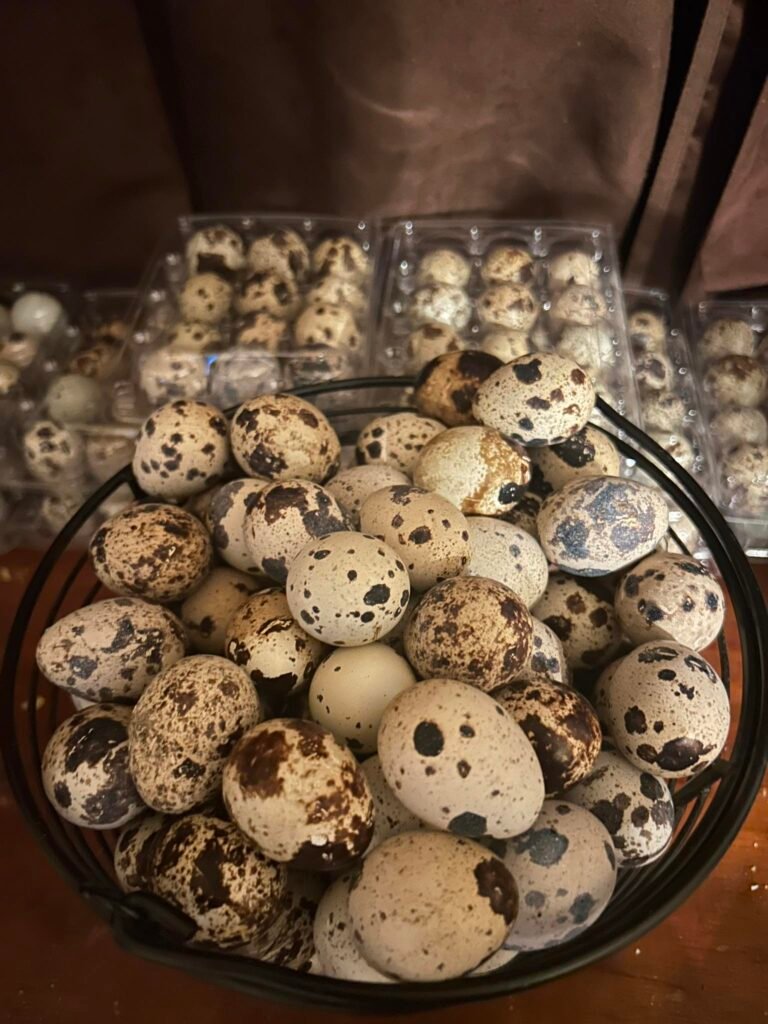
- 🥚 Starter Pack of 18 Fertile Jumbo Quail Eggs
- 🔁 54- or 108-Egg Batches for Rotation Planning
- 🧰 Brooder and Cage Gear I Recommend
And if you haven’t already, check out the full conversation with Judd on Only Goats Farm or watch it on YouTube.
Affiliate Disclaimer: Some links may be affiliate links, which means I earn a small commission at no cost to you. I only recommend what I use and trust.
Leave a Reply