
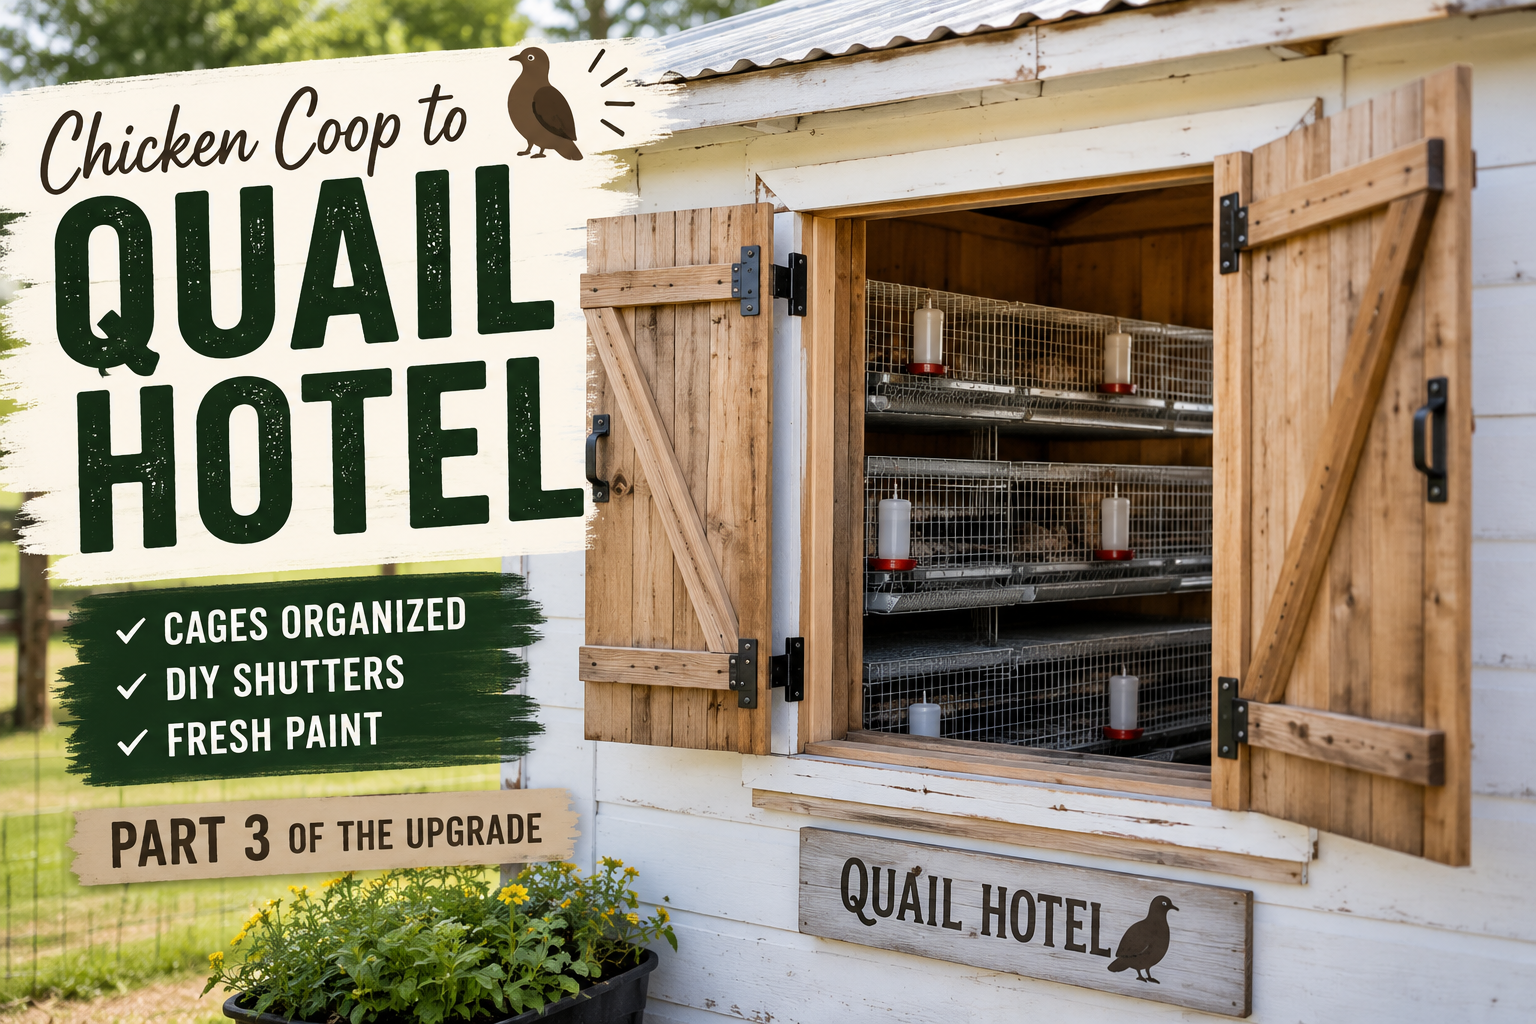
The old chicken coop is officially starting to look like a quail hotel. I’ve been slowly converting this little building into a practical setup for my Coturnix quail, and this part of the project was all about getting the cages organized, turning the old window opening into working shutters, and finally giving the outside a fresh coat of paint.
There are still plenty of things left to finish. I eventually want to add an automatic watering system and another window for more light and ventilation, but for now the cages are in place and the little baby waterers are doing the job. One cage also isn’t permanently placed yet because I’m still deciding exactly how I want the final layout to work.
Key Takeaways
- The quail cages are installed, with temporary baby waterers until a full watering system is added.
- Reused coop boards became hinged shutters that provide a closable window and extra ventilation.
- Painting the old coop white brightened the exterior, though more paint and brushwork are still needed.
- Several old frames may become future farm projects, including a planned chicken run.
Getting the Quail Cages Organized
The main priority was getting the cage layout functional inside the coop. The rows of cages are set up along one side, with another cage arrangement on the opposite wall. The egg trays are positioned underneath the cage fronts, making it easier to collect eggs as they roll out.
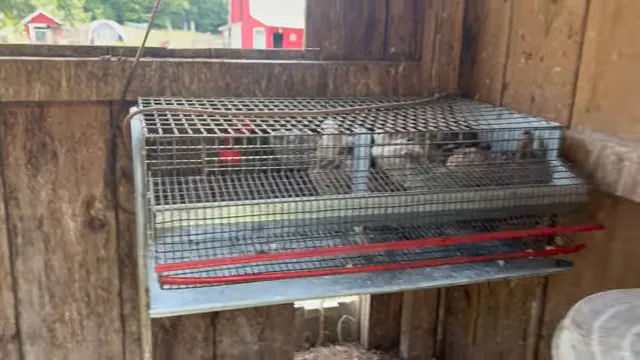
The coop already had a window opening, which gives the interior some much-needed light and air. I also plan to cut another window on the other side eventually. Before that happens, though, this first opening needed a way to close up safely.
Turning the Window Opening Into Working Shutters
The window needed shutters, not just an open hole in the wall. I had taken the old boards apart, so the basic materials were already there. The plan was simple:
- Reattach the boards and molding pieces into two shutter panels.
- Trim the panels as needed so they could meet and close properly.
- Add hinges at the top sides.
- Create a closure in the middle where the shutters meet.
- Add a way to hold the shutters open when needed.
I found some little nails that looked like they would work perfectly for reattaching the molding pieces and connecting the boards back together. Sometimes a project is really just making use of the pieces you already have and seeing whether they cooperate.
After testing the shutters, they did open and close. Honestly, I was pretty pleased with it. It is not fancy, but it works, and there is something very satisfying about taking old boards from the same coop and turning them into functional shutters.
When the Measurements Are Not Quite Measuring
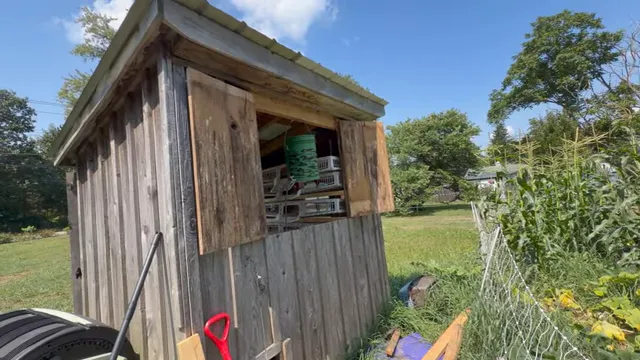
Now, did the shutters close perfectly? No. There is a gap at the center and another small gap along the edges.
My official explanation is ventilation.
The real explanation is that I took the boards out and assumed they would fit back in without measuring. Once the shutters were up, it was clear that the original boards were not pushed all the way together. There was already a gap in the old configuration, and I did not recreate that spacing when I rebuilt the panels.
That is where the fit issue came from. But it is an old chicken coop becoming a quail hotel, not a luxury condo. The shutters open, they close, and the gaps can be treated as accidental ventilation until I decide on a more polished closure system.
For now, I still need a better way to secure the shutters closed and a proper prop to hold them open. The temporary solution was not exactly elegant, but it got the job done while the project moved forward.
Painting the Old Coop
Once the shutters were attached, it was time to start painting. I used the same paint color from my roadside stand, which helps tie the little farm projects together.
The paint instantly brightened the weathered coop. A roller could cover a lot of surface quickly, but the boards have plenty of cracks, edges, and crevices where a brush is absolutely necessary. There are just some places a roller cannot reach, especially around trim, uneven boards, and the new shutter area.
I made it through a good chunk of the project, probably about half, before the paint ran out. So that was the end of the painting project for the day. More paint and a brush are needed before the coop can be finished completely.
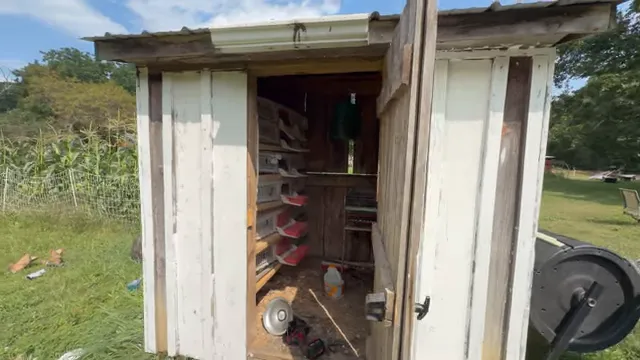
Even unfinished, the paint made a huge difference. The outside is brighter, the window is framed by the shutters, and the whole little building looks much more intentional than it did at the start.
Other Farm Projects Waiting Their Turn
There are always extra projects sitting around the farm, just waiting for either inspiration or a decision to finally let them go.
I have a broken trampoline frame that I originally thought I might use for something. I also have another broken frame that needs to be put back together and will become a chicken run. Then there is the original frame I had planned to use for the quails.
That original frame would not fit inside the coop, and I did not have all of its pieces anyway, so I built a wooden frame for the quail setup instead. The leftover frame is not really bent, it is just staying in an awkward position. The question is whether it has another useful future or whether it is time to scrap it.
This is the constant battle of trying to be a minimalist while also living on a farm. You throw something away, and six months later you are mad at yourself because it would have been perfect for the project you are working on now.
For the moment, it stays in the maybe pile.
Next Chapter…
There are still a few things I want to finish before the quail hotel is completely done. I eventually want to add an automatic watering system, cut another window for more light and airflow, and make a few adjustments to the cage layout as I figure out what works best day to day. For now, though, the cages are in place, the temporary waterers are working, and the setup is finally starting to feel functional.


Post your Comment About This Product