
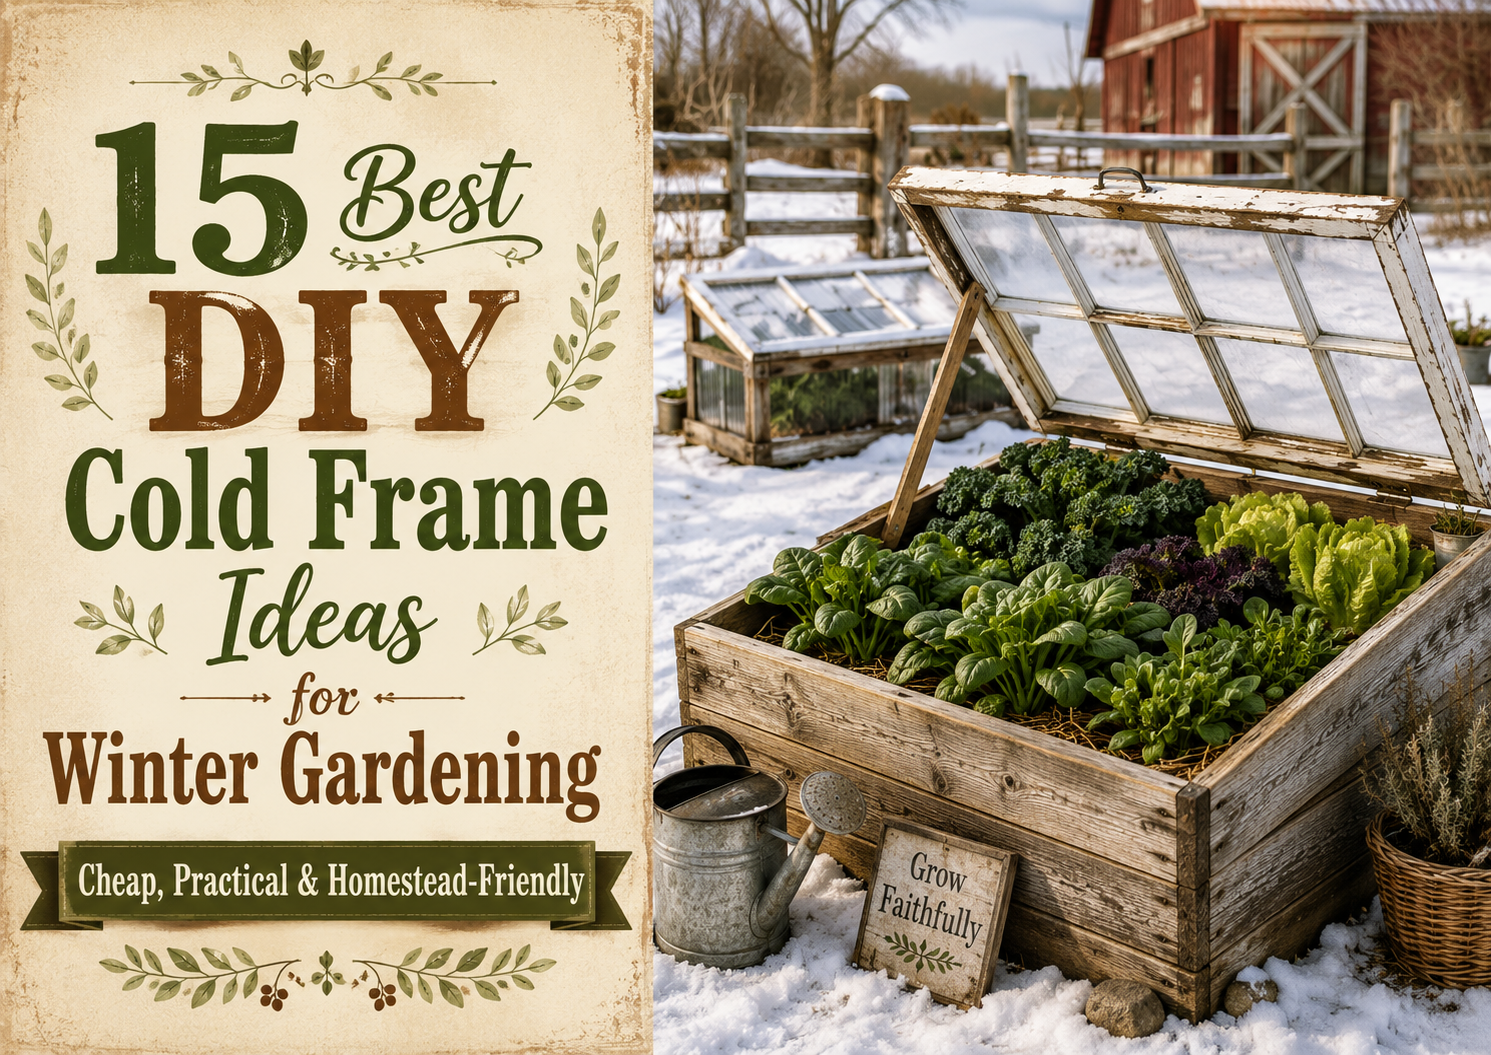
You don’t need a heated greenhouse to keep growing vegetables when the weather gets cold.
One of the simplest ways to extend your garden into winter is with a cold frame.
A cold frame is essentially a bottomless box or enclosed growing area covered with a transparent lid. Sunlight enters through the top, while the structure helps protect the plants inside from wind and cold temperatures. Utah State University Extension recommends transparent materials including old windows, polycarbonate, polyethylene film, and acrylic for cold-frame covers.
And the best part?
You can build one out of materials you may already have around your property.
Old windows, scrap lumber, pallets, leftover greenhouse plastic and even straw bales can potentially become part of a simple winter-growing setup.
If you’re planning a Zone 6 winter garden, here are 15 DIY cold-frame ideas ranging from nearly free projects to more permanent structures you’ll be able to use for years.
Before You Build a Cold Frame
There are dozens of ways to build a cold frame, but they all need the same basic things:
- A structure surrounding the plants
- A transparent or translucent cover
- Plenty of sunlight
- A way to open or vent the structure
- Access to your vegetables for watering and harvesting
Location matters, too.
Cold-frame lids are traditionally angled toward the south to capture more sunlight during the cooler portions of the growing season.
Just don’t assume colder weather means you can leave the lid closed constantly.
A cold frame can warm considerably when the sun hits it. Utah State Extension specifically recommends opening or removing the lid during the day when needed to prevent excessive heat buildup and closing it again to provide protection when temperatures drop.
Affiliate opportunity: This is a perfect place to recommend a simple greenhouse thermometer or wireless indoor/outdoor thermometer so readers can see what’s actually happening inside their cold frame.
Now let’s build one.
1. Old Window Cold Frame
This is the classic DIY cold frame.
Find an old window and build a simple wooden box sized to fit underneath it.
Attach the window to the back of the box with hinges and you’ve created a lid you can raise for watering, harvesting and ventilation.
The back wall can be built slightly taller than the front so the window sits at an angle toward the sun.
Old windows work especially well because the transparent top is already framed.
What you’ll need:
- Old window
- 2x lumber or scrap boards
- Exterior screws
- Hinges
- Handle
- Optional weather stripping
If you’re searching architectural salvage stores, Habitat ReStores, Facebook Marketplace or your own barn for old windows, you may be able to build this one for very little money.
2. Raised Bed Cold Frame Topper
Already have raised garden beds?
Don’t build an entirely separate cold frame.
Build a removable cold-frame top that fits directly over one of your existing beds.
Construct a lightweight wooden frame and cover it with clear polycarbonate, acrylic or another suitable transparent material.
The topper can sit directly on the raised bed during the cold season and be removed when spring temperatures arrive.
I especially like this approach because your summer garden and winter garden can occupy the exact same space.
After your warm-season crops finish, transition the bed to the best vegetables for a Zone 6 winter garden, add the cold-frame topper and continue using the bed.
3. Pallet Wood Cold Frame
If you have leftover pallets from other farm projects, they can provide lumber for a rustic cold frame.
Disassemble the pallets and use the boards to construct the sides of your cold-frame box.
Then add a transparent lid.
Possible lid materials include:
- Old window
- Polycarbonate panel
- Acrylic
- Greenhouse plastic stretched over a wooden frame
The result fits perfectly into a rustic homestead garden and can cost very little if you’re using reclaimed materials.
Just make sure you’re comfortable using the particular reclaimed wood around an edible garden and avoid visibly contaminated, painted or questionable lumber.
4. Polycarbonate Cold Frame
If you want something that looks a little more permanent, build the frame from lumber and use clear polycarbonate panels instead of an old window.
Polycarbonate is one of the transparent materials Utah State Extension lists for cold-frame construction.
This is the version I’d consider if I knew I wanted to use the same cold frame for several winters.
You could build a wooden box and use polycarbonate only for the lid, or construct more of the upper structure from transparent panels.
5. Scrap Lumber Cold Frame
Your cold frame does not need matching lumber.
Really.
If you’ve got leftover 2x4s, fence boards or other suitable untreated scrap lumber from farm projects, use it.
The plants do not care whether the boards match.
Build a rectangular box, make the back slightly taller than the front, and attach whatever transparent lid material you have available.
This is one of my favorite homestead-style projects because it turns material that might otherwise sit behind the barn for three years into something useful.
Paint or stain the outside if you want it pretty.
Or don’t.
It’s a vegetable house.
6. Straw Bale Cold Frame
This may be the easiest version on the entire list.
Arrange straw bales around the growing area to create the walls of your cold frame.
Then place a transparent cover across the top.
That could be an old window, framed polycarbonate panel or another sturdy transparent top.
The advantage is obvious: you barely have to build anything.
It can also be dismantled when winter is over, and the straw can eventually be repurposed elsewhere around the homestead.
If you already use straw around the garden or barn, this is definitely one I’d experiment with.
7. Cinder Block Cold Frame
Want something heavier?
Use concrete blocks to create the walls and place a transparent lid on top.
A block cold frame is much less likely to move around during strong winter weather than an ultra-lightweight structure.
It can also be built without constructing wooden side walls.
Arrange the blocks around your growing area, create your transparent lid separately and make sure you can safely lift or prop the lid for ventilation.
The downside?
This one isn’t particularly portable.
So choose the location carefully before hauling all those blocks across the yard.
8. Old Storm Window Cold Frame
Old storm windows are another great candidate for cold-frame lids.
Because they’re generally lighter than some traditional windows, they may be easier to lift when you’re harvesting or venting the bed.
Build a wood base sized specifically for the storm window and attach the window with hinges.
This is another good project for anyone who regularly finds leftover building materials.
One person’s “why is this window still in the garage?” is another person’s spinach house.
9. Greenhouse Plastic Cold Frame
Don’t have glass or polycarbonate?
Build a lightweight wooden lid and cover it with clear greenhouse plastic.
Utah State Extension includes polyethylene film among materials used to cover cold frames.
The important part is stretching and securing the material well enough that winter wind doesn’t immediately turn your cold frame into a sail.
This version is inexpensive and much lighter than glass.
It may not last as long as a permanent polycarbonate lid, but it could be an excellent first cold frame if you’re trying winter gardening without investing much money.
10. Mini Cold Frame for Salad Greens
Cold frames don’t have to be enormous.
In fact, a smaller cold frame can be perfect if your main goal is growing compact winter greens.
Think:
- Spinach
- Mâche
- Claytonia
- Tatsoi
- Winter-hardy lettuce
Specialty greens such as claytonia and mâche are particularly suited to colder growing conditions. Penn State Extension specifically discusses them as options for gardeners interested in cold-frame growing.
Build a small wooden box with a transparent lid and dedicate the entire thing to winter salads.
This is probably the setup I’d recommend to someone trying winter gardening for the first time.
Start small.
Figure out how your winter sun and temperatures affect the frame.
Then build the giant version next year.
11. Double-Layer Cold Frame
Once you’re comfortable with a basic cold frame, you can add another layer of protection.
Your first layer is the transparent cold-frame lid.
Your second layer is lightweight or heavier row cover placed over the vegetables inside the cold frame during particularly cold stretches.
That essentially creates a protected area inside an already protected area.
Cold frames and other season-extension structures are specifically intended to provide additional protection to cool-season vegetables; University of Minnesota Extension lists lettuce, kale, cabbage, cauliflower and broccoli among crops that perform well in cold frames during cool weather.
For a true winter setup, I’d focus heavily on the most cold-hardy greens rather than trying to grow every cool-season crop in January.
12. Automatic-Venting Cold Frame
This is the fancy version of a very simple garden structure.
Build your cold frame normally, but add an automatic vent opener to the lid.
These temperature-responsive devices are commonly used with greenhouse vents and can help open a lid as conditions inside warm.
That can be particularly convenient if you’re not home every sunny winter afternoon to manually crack the cold frame open.
Even though it’s cold outside, ventilation still matters. Utah State Extension warns that temperatures can build excessively inside a closed cold frame during the day.
For a garden that needs to function while you’re busy doing everything else around the homestead, this is one upgrade I’d seriously consider.
13. Portable Cold Frame
Instead of permanently attaching your cold frame to one garden bed, build a lightweight bottomless frame that can be moved.
Use thinner lumber and a lightweight clear lid.
Then place the entire structure over whichever crop needs protection.
You could use it over:
- Fall spinach
- Newly seeded winter greens
- Spring seedlings
- Plants being hardened off
Cold frames aren’t only useful for winter vegetables. University of Minnesota Extension also recommends them for hardening off seedlings before transplanting.
That means a portable cold frame can work almost year-round.
Use it over winter greens now, then move it to spring seedlings a few months later.
14. Extra-Deep Cold Frame for Kale
Most cold-frame photos show tiny salad greens tucked underneath a short window.
But what if you want to grow something taller?
Build a deeper frame.
Give your kale, collards or larger Asian greens enough vertical space beneath the lid.
You can still slope the transparent top toward the south, but increase the overall height of the box.
This takes more lumber than a little salad-green cold frame, but it gives you much more flexibility in what you can plant.
If your goal is specifically fresh greens through winter, I could see having two cold frames:
One shallow bed for spinach, mâche and lettuce.
One deeper frame for kale and larger greens.
15. Cold Frame With a Removable Hoop Top
Here’s where a cold frame and low tunnel start borrowing ideas from each other.
Build a sturdy wooden base around your garden bed, but instead of using one heavy hinged window, create a removable curved top from short hoops covered with greenhouse plastic or another appropriate transparent covering.
The structure remains low like a cold frame but the curved roof helps provide additional headroom.
And because the top is removable, you can convert the bed back to normal garden use when the weather warms.
If you like this approach, you’ll probably also want to look at cheap DIY low tunnel ideas for raised beds, because low tunnels give you another inexpensive option for protecting a larger growing area.
Which DIY Cold Frame Is Best?
If you’re overwhelmed by 15 choices, here’s how I’d narrow it down.
Cheapest
Scrap lumber + old window
If you already have both materials, you may only need screws and hinges.
Easiest
Straw bale cold frame
Make the walls. Add a transparent top. Grow vegetables.
Best for Existing Raised Beds
Removable raised-bed cold-frame topper
Use your current garden instead of creating another dedicated growing area.
Best Long-Term Build
Wood + polycarbonate cold frame
More initial expense, but I’d choose this if I wanted a permanent, reusable setup.
Best for Beginners
Small salad-green cold frame
Start with spinach and a few hardy greens instead of trying to manage an enormous winter garden immediately.
Best Low-Maintenance Upgrade
Automatic-venting cold frame
Especially useful if you can’t always manually open and close the lid when winter temperatures fluctuate.
What Should You Grow Inside a Winter Cold Frame?
This is where I think a lot of winter-gardening lists get misleading.
A vegetable surviving a couple of October frosts does not automatically make it a great January cold-frame crop.
If you’re building a cold frame specifically for a Zone 6 winter garden, focus your valuable protected space on genuinely cold-hardy vegetables.
My favorites include:
- Spinach
- Kale
- Mâche
- Claytonia
- Tatsoi
- Collards
- Winter-hardy lettuce
- Arugula
I have a complete guide to the best vegetables to grow in a Zone 6 winter garden that explains why I chose those crops and which ones I’d start with as a beginner.
[INTERNAL LINK: Best Vegetables to Grow in a Zone 6 Winter Garden]
You Still Need to Plant Before Winter
A cold frame protects your vegetables.
It does not give you July sunlight in January.
That’s an important distinction.
Your goal should be to get most winter vegetables established before the shortest, darkest part of the year.
Then the cold frame protects those established plants and allows you to continue harvesting while growth is slow.
I’ll cover this in much more detail in my Zone 6 winter garden planting calendar, including when I plant spinach, kale, mâche, tatsoi and winter lettuce.
[INTERNAL LINK: When to Plant a Winter Garden in Zone 6]
Don’t Forget to Vent Your Cold Frame
Here’s the part that surprises new winter gardeners:
Your cold frame can actually get too warm.
Sunlight enters through the transparent top and warms the protected space.
Even during cold weather, Extension guidance recommends opening cold frames during warmer daytime conditions to prevent excess heat from building inside.
That means you’ll need some way to prop your lid open.
A simple piece of wood can work.
Or you can install an automatic vent opener.
Either way, don’t build a beautiful cold frame and then completely forget what’s happening underneath the lid.
DIY Cold Frame Supplies Worth Having
You don’t need all of these for every design, but depending on your build, these supplies can make the project much easier:
- Exterior screws
- Exterior hinges
- Handles
- Polycarbonate panels
- Greenhouse plastic
- Greenhouse repair tape
- Weather stripping
- Frost cloth or row cover
- Greenhouse thermometer
- Automatic vent opener
- Greenhouse clips
- Staple gun
- Clear acrylic sheet
Amazon affiliate disclosure: As an Amazon Associate I earn from qualifying purchases.
I’d add affiliate links only to supplies that make sense for the particular cold frame you’re building rather than turning every paragraph into a shopping list.
Start With One Winter Garden Bed
You do not need to cover your entire vegetable garden.
Choose one bed.
Build one cold frame.
Fill it with vegetables that genuinely tolerate winter conditions.
Pay attention to where the winter sun hits your property, how warm the cold frame becomes on sunny days, how quickly the soil dries out and which vegetables perform best.
Next year, build another one.
That’s one of my favorite things about season-extension gardening: it doesn’t require jumping straight from an outdoor summer garden to a giant heated greenhouse.
A simple box with a transparent lid can be enough to start experimenting.
And while most of the garden is frozen or covered in snow, there is something pretty satisfying about opening that lid and finding spinach underneath.
Love this? Check these out next:


Post your Comment About This Product