
Fall on the homestead has a way of sneaking up on you.
One minute you’re picking tomatoes, mowing pasture, and wondering what to do with all the zucchini.
Then suddenly you’re standing outside in a sweatshirt at 7 a.m. realizing the livestock water is going to start freezing soon.
Winter preparation is especially important if you live somewhere with real winters. Here in Western New York, we can go from a beautiful 60-degree fall afternoon to snow, ice, frozen hoses, and miserable wind surprisingly fast.
And once everything freezes, every unfinished chore becomes approximately 10 times more annoying.
Ask me how I know.
The good news is that you do not have to completely overhaul your homestead before the first snowflake falls.
The goal is simply to deal with the things that are much easier to handle before the ground freezes, snow piles up, and you’re trying to repair something with numb fingers.
Use this fall homestead checklist to work your way through the property, garden, barn, livestock areas, and winter supplies before cold weather arrives.
1. Inspect Every Animal Shelter
Start with the obvious stuff.
Walk through every barn, coop, shed, run-in, rabbit area, and livestock shelter on your property.
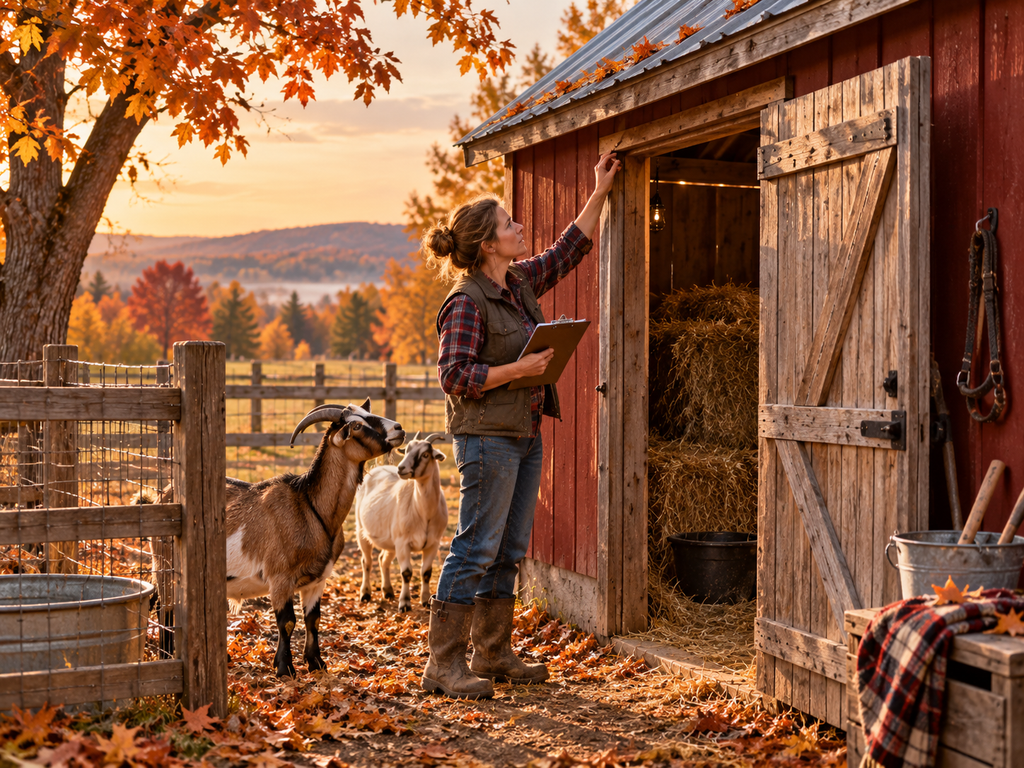
Look for:
- Roof leaks
- Loose roofing
- Rotten wood
- Broken boards
- Sharp edges
- Loose screws or nails
- Areas where rain is getting inside
- Places where snow could blow through
- Sagging rafters or roof sections
- Doors that don’t close correctly
You do not necessarily need a completely enclosed heated barn.
In fact, for many livestock species, dry, protected, and well-ventilated is far more important than making the building warm.
If your goats need additional shelter, you can also build something fairly inexpensively. I have tutorials for both a 3-sided pallet goat shelter and a pallet A-frame goat shelter.
The important part is getting that construction finished before you’re trying to do it in January.
2. Figure Out Where Your Winter Wind Comes From
Pay attention to your property on a windy fall day.
Where does the wind hit your barn?
Does it blow directly into the goat shelter?
Does snow usually drift against one particular side of your chicken coop?
Buildings, woods, hills, and other structures can completely change how wind moves across an individual property.
If necessary, add permanent or removable windbreaks to vulnerable areas.
Just remember that blocking wind is not the same as eliminating ventilation.
You still want moisture and ammonia to escape animal housing.
3. Stock Up on Winter Bedding
Do not wait until the first major snowstorm to discover everyone else in your area also needs straw.
Calculate how much bedding you normally go through and start building a reasonable supply.
Depending on your animals and setup, that may include:
- Straw
- Pine shavings
- Pelleted bedding
- Sawdust
- Other appropriate livestock bedding
Store it somewhere dry and protected.
Wet bedding sitting behind the barn isn’t much of a winter stockpile.
4. Decide How You’re Handling Livestock Water
Water is one of the biggest headaches on a northern homestead in winter.
Before temperatures start dropping below freezing, figure out exactly how you are getting water to every animal.
Ask yourself:
Can I use a heated bucket?
Do I have a tank de-icer?
Will I carry water from the house?
Do I have backup buckets if one freezes?
Can I actually reach my water source after a foot of snow?
If you’re using electricity around water, make sure cords, outlets, heaters, and connections are appropriate for the job and protected from livestock.
And have a backup plan.
The morning your heated water bucket quits working should not be the first time you’ve thought about what happens if your heated water bucket quits working.
5. Drain and Store Hoses
This is an easy one to forget.
Disconnect garden hoses before hard freezes arrive.
Drain them completely, coil them, and store them somewhere protected if possible.
Water trapped inside a hose can freeze and expand, damaging the hose or fittings.
While you’re doing this, winterize irrigation systems and outdoor faucets as appropriate for your setup.
This is one of those five-minute fall chores that can prevent an extremely irritating spring replacement.
6. Check Your Hay Supply
If you have goats, sheep, horses, rabbits, or other hay-eating animals, fall is the time to seriously look at your winter supply.
Not:
“Eh, that looks like a lot of hay.”
Actually estimate it.
Figure out approximately how many bales you use each week, how many weeks you’ll realistically be feeding hay, and how much of a buffer you want.
Remember that animals may eat more forage during cold weather, and hay usage can increase dramatically once pasture is no longer available.
I have a complete Winter Goat Feeding Guide that goes much deeper into hay planning, storage, nutrition, and reducing waste.
Buying hay before you’re almost out gives you a lot more flexibility than desperately searching Facebook Marketplace during a February snowstorm.
7. Protect Your Hay From Moisture
Having enough hay doesn’t matter much if half of it molds.
Inspect wherever you plan to store winter hay.
Keep bales:
- Off wet ground
- Protected from rain and snow
- Away from obvious leaks
- In an area with appropriate airflow
- Positioned where you can actually reach them during bad weather
If you’re stacking hay in a barn, also think about how you’re going to move it.
Future freezing-cold you will appreciate current you putting the hay somewhere sensible.
8. Check Feed Storage
Fall is also a good time to inspect your grain and feed storage.
Cold weather tends to push mice and other rodents toward barns, garages, sheds, and feed rooms.
Make sure feed is stored in containers that resist moisture and pests.
Clean up spilled grain around bins, check lids, and inspect corners for signs of rodents.
You don’t need to purchase six months of feed at once.
You just don’t want to discover during a lake-effect snowstorm that you have enough grain for breakfast and nothing else.
9. Prepare Your Quail for Winter
If you raise quail, start thinking about winter housing before the temperatures become extreme.
Cold itself isn’t the only concern.
Wind, moisture, frozen water, short daylight hours, predator pressure, and sudden temperature changes all affect how well birds handle winter.
Check:
- Wind protection
- Water access
- Feed storage
- Roof protection
- Predator-proofing
- Ventilation
- Lighting if you plan to supplement daylight
- Where you’ll brood chicks if you’re hatching during winter
I have an entire guide on raising quail in winter if Coturnix are part of your homestead.
10. Predator-Proof Before Food Gets Scarce
Fall is an excellent time to walk the perimeter of poultry pens, rabbit areas, and small-livestock enclosures.
Check:
- Latches
- Hardware cloth
- Fencing
- Holes beneath structures
- Loose corners
- Roof gaps
- Damaged wire
- Areas where something has been digging
Do this before winter.
Snow and frozen ground can make repairs much harder, and wildlife looking for food may become more interested in easy meals around the homestead.
If you’ve been meaning to fix that one suspicious corner of the chicken run for three months, this is your sign.
Fix the corner.
11. Inspect Your Fencing
Walk your fence lines before everything is buried.
Look for:
- Broken posts
- Loose wire
- Sagging fence
- Vegetation pressing against electric fencing
- Weak gates
- Broken insulators
- Areas animals are already testing
Electric fencing deserves extra attention.
Heavy vegetation, wet snow, ice, bad grounding, and damaged connections can affect performance.
It is much easier to replace a post in October than after the ground freezes solid.
12. Fix Gates and Latches
Open every gate.
Close every gate.
If you have to lift it, kick it, slam it, hold your tongue just right, and whisper encouraging words to get it latched now, winter will not improve the situation.
Fix sagging gates and sticky latches.
Lubricate appropriate hardware.
Think about whether snow accumulation will block frequently used gates.
And make sure you can operate important gates while wearing winter gloves.
13. Create Winter Walking Paths
Picture your homestead covered in snow.
Now think about every place you’ll have to visit twice a day.
Barn.
Goat pen.
Chicken coop.
Rabbit cages.
Quail.
Hay storage.
Compost.
Water source.
Feed room.
Do you have a reasonable path?
Move equipment, lumber, hoses, fencing, and random farm junk out of the areas you’ll need to shovel or walk through.
This is not glamorous winter preparation.
It is, however, the difference between carrying two buckets of water down a clear path and tripping over a roll of fencing hidden beneath eight inches of snow.
14. Put Snow Equipment Somewhere Accessible
Find your snow shovel now.
Not during the storm.
Now.
Check snowblower fuel and maintenance if you use one.
Locate:
- Snow shovels
- Ice choppers
- Sand or other appropriate traction material
- Roof rake if needed
- Gloves
- Flashlights
- Extra batteries
And don’t store the only shovel inside a building that may have three feet of snow against the door.
15. Clean Up the Garden
Your fall garden cleanup does not need to mean stripping every bed down to bare dirt.
But remove obviously diseased plant material, clean up collapsing vegetable plants where appropriate, and deal with supports, cages, irrigation pieces, and tools you don’t want buried beneath snow.
Healthy plant material can often be composted.
Diseased material may need to be handled differently depending on what affected the plant.
This is also a perfect time to note what actually worked this year.
Which bed performed well?
Where did water collect?
Which plants were constantly shaded?
You’ll forget more than you think by spring.
16. Plant or Protect Your Winter Garden
Fall doesn’t necessarily mean the gardening season is over.
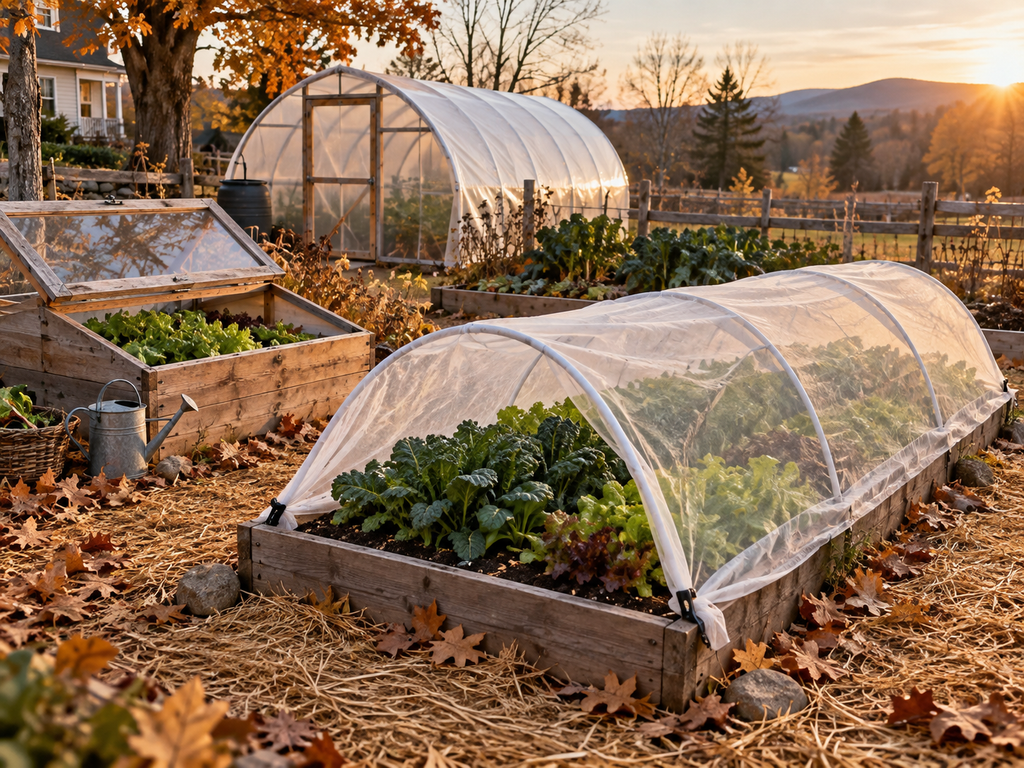
If you’re growing in a cold climate, cold frames, low tunnels, hoop houses, or an unheated greenhouse can extend your season considerably.
I put together my favorite vegetables for a Zone 6 winter garden, including genuinely cold-hardy options instead of simply listing anything capable of surviving one frost.
If you haven’t built protection yet, check out these 15 DIY cold frame ideas.
The biggest thing to remember is that winter gardening is largely about getting plants established before the darkest part of winter.
Your cover protects the crop.
It does not magically recreate June sunlight in January.
17. Winterize Your Greenhouse
If you have a greenhouse, inspect it before the first major wind or snow event.
Check:
- Plastic for holes
- Loose panels
- Door seals
- Framing
- Anchors
- Vents
- Hinges
- Snow-load concerns
- Water systems
- Gaps allowing uncontrolled drafts
Clean the covering so the limited winter sunlight can actually get inside.
If you’re planning to continue growing during cold weather, think about heat retention now.
You don’t necessarily need to heat the greenhouse like your living room.
I’ve written about seven ways to heat a greenhouse without electricity, including thermal mass, passive solar heat, insulation, and manure hotbeds.
18. Add Compost to Garden Beds
Fall is one of my favorite times to improve garden soil because I’m not trying to work around tiny seedlings.
If you have finished compost, spread it where appropriate and let winter weather begin incorporating it into the garden.
You can also use fall to start building compost that will be ready later.
Leaves are especially valuable.
Instead of treating every fallen leaf like garbage, consider shredding leaves for mulch, adding them to compost, or creating a dedicated leaf-mold pile.
Free organic matter literally falls out of the sky every autumn.
Use it.
19. Mulch Perennials and Vulnerable Plants
Once temperatures begin cooling, prepare plants that need winter protection.
Depending on what you’re growing, that may include:
- Garlic
- Strawberries
- Perennial herbs
- Young trees
- Berry plants
- Flower beds
- Newly established perennials
Mulch can help moderate soil-temperature swings and protect roots.
But don’t automatically bury every plant beneath an enormous pile.
The correct winter treatment depends on the plant and your climate.
20. Harvest and Preserve What Is Left
If tomatoes are piling up at the end of the season, start with my 25 Things to Do With Too Many Tomatoes for practical ways to cook, preserve, and use the harvest before it goes to waste.
If pears are part of your fall harvest, here are 25 things to do with too many pears, from canning and dehydrating to pear butter, fruit leather, baked goods, and more. If you are also putting up low-acid vegetables, meat, broth, or soups, my 25 best foods to pressure can guide is a good place to decide what belongs on the pantry shelf.
Before a hard freeze, walk the garden and orchard and gather anything you still intend to use.
You may have:
- Tomatoes
- Peppers
- Herbs
- Pumpkins
- Winter squash
- Potatoes
- Carrots
- Beets
- Apples
- Late greens
Decide what you’re actually going to do with it.
Freeze it.
Can it.
Dehydrate it.
Store it.
Cook it.
Feed appropriate extras to livestock.
Compost what you’re not going to use.
The goal is to avoid finding a box of forgotten squash turning into an accidental science experiment six weeks later.
21. Check Stored Produce
Winter storage is not a one-and-done chore.
Before filling your storage area, clean it out and check your containers.
Then continue inspecting stored potatoes, onions, squash, apples, carrots, and other produce throughout winter.
One rotting vegetable left unnoticed can quickly affect the food around it.
I like the idea of building a quick produce check into another regular chore.
You’re already feeding animals.
You’re already checking the barn.
Take another two minutes and check the food you’re storing too.
22. Prepare for Power Outages
A winter homestead becomes much more complicated when the electricity disappears.
Think through what stops working during an outage.
Well pump?
Heated buckets?
Tank de-icers?
Incubators?
Brooders?
Freezers?
Greenhouse equipment?
Barn lights?
Your plan will depend heavily on your property.
But at minimum, know how you’re going to provide livestock water, safely light essential areas, protect temperature-sensitive animals, and handle prolonged outages.
If you own a generator, fall is a good time to make sure it actually works.
23. Build a Winter Livestock Emergency Kit
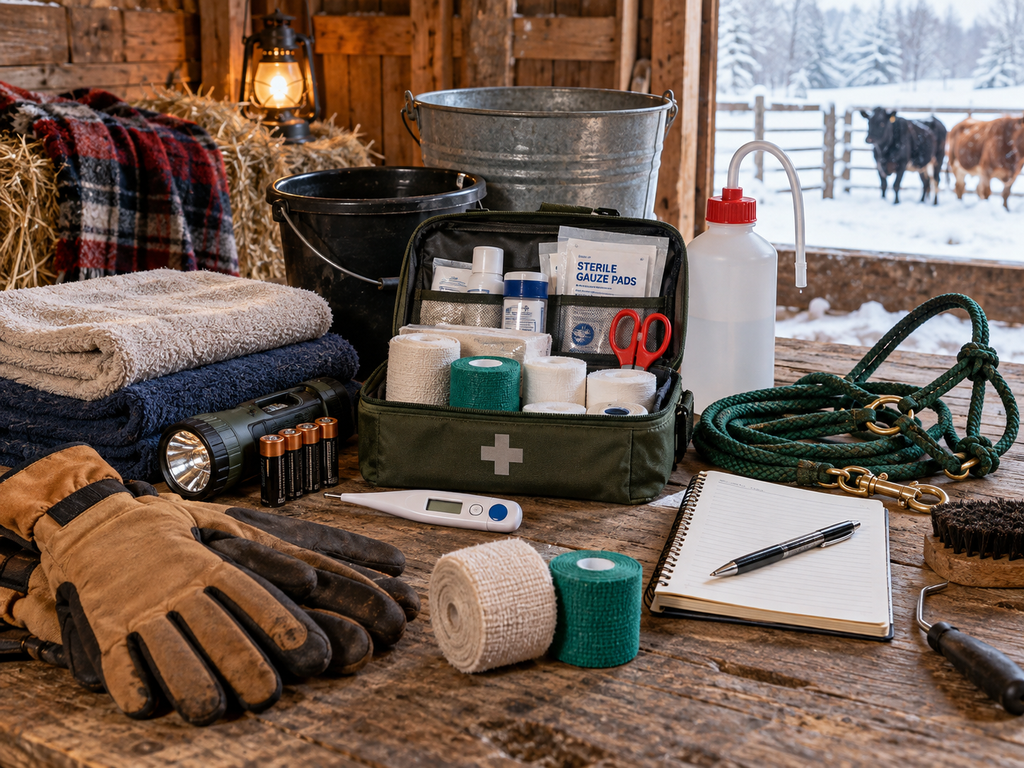
Do not scatter your livestock supplies across four barns, the garage, the kitchen junk drawer, and the back seat of your vehicle.
Ask me how that system works when something goes wrong.
Put together a winter-accessible area with the supplies you use most often.
That could include basic first-aid supplies, flashlights, batteries, thermometers, towels, halters, leads, gloves, buckets, and species-specific supplies recommended by your veterinarian.
Also make sure you know where your livestock veterinarian’s number is.
Cold weather is not when you want to begin searching for it.
If goats are part of your homestead, my Beginner’s Guide to Raising Goats covers some of the basic housing, feeding, fencing, and health-care considerations that are worth reviewing before winter.
24. Make a January and February Project List
This might sound strange on a fall checklist, but winter can actually be an incredibly productive time on a homestead.
You just need different projects.
Once the garden slows down and outdoor projects become harder, winter is a great time to:
Plan the spring garden.
Order seeds.
Research new livestock.
Repair equipment.
Update farm records.
Plan fencing.
Build small indoor projects.
Map out your farmstand.
Plan breeding schedules.
Organize your seed collection.
And start seeds.
One project worth planning now is winter sowing in milk jugs.
It lets you start certain seeds outdoors during winter using recycled containers as miniature greenhouses.
Which also gives us something garden-related to obsess over when everything outside is white.
25. Walk the Entire Homestead One Last Time
Finally, do one slow walk around your entire property.
Not while feeding.
Not while chasing a goat.
Not while carrying hay.
Walk around specifically looking for winter problems.
Look up at roofs.
Look down at drainage.
Open doors.
Test gates.
Check fencing.
Look at water lines.
Look at trees hanging over buildings.
Check the greenhouse.
Look around the barn.
Imagine everything covered in ice and snow.
Ask yourself:
“What is going to make me really angry if I leave it like this until January?”
Fix those things first.
You will never completely finish a homestead.
There will always be another fence to repair, shelter to improve, garden bed to build, animal project to start, or piece of equipment to fix.
Winter preparation isn’t about achieving some perfectly organized Pinterest homestead before the first snowfall.
It’s about eliminating the avoidable problems.
Because feeding animals in January is already harder than feeding them in September.
You don’t also need a frozen hose, broken gate, leaking roof, empty hay loft, and missing snow shovel.
Do what you can while the weather is still cooperating.
Future you will be glad you did.
What Comes After the Fall Homestead Checklist?
Once winter actually arrives, your priorities shift from preparation to maintenance.
You’ll be checking water more frequently, watching body condition, managing snow and ice, keeping bedding dry, watching ventilation, monitoring feed supplies, and looking for small problems before they turn into expensive ones.
That’s why fall preparation matters so much.
The better your systems are going into winter, the easier your daily chores become once the snow starts falling.
And if you want the next checklist ready to go, read my Winter Homestead Chores You Should Be Doing Now guide next.
Prepare now.
Then when winter finally shows up, you can spend slightly less time fighting frozen buckets and slightly more time enjoying the fact that the mosquitoes are finally gone.


Post your Comment About This Product